Patchwork Gifts Book Tour


It feels almost surreal to do a blog post after so long but a million thanks to Elise and Emelie for inviting me to join this amazing book tour! There’s so much happening in the world at this very moment and I wish to send super lots of positive vibes to everyone by making something beautiful from this book.

Showing you right away what I made over the last week.


I turned the “Fika House coasters and case” to a “Fika House zipper pouch”! This project speaks so much from my heart now! Being stuck at home everyday for the past two weeks is a great deal for me and kids. We are starting to enjoy the slow and easier life which brings us joy and peace each day. We treat our home as a safe shelter in every sense of the word. To us, a comfortable house filled with kindness and love is the most important right now.


My heart was full of gratitude when I was sewing this house project. I loved making the patchwork with all my favourite fabrics in earth tone. They made me feel grounded.


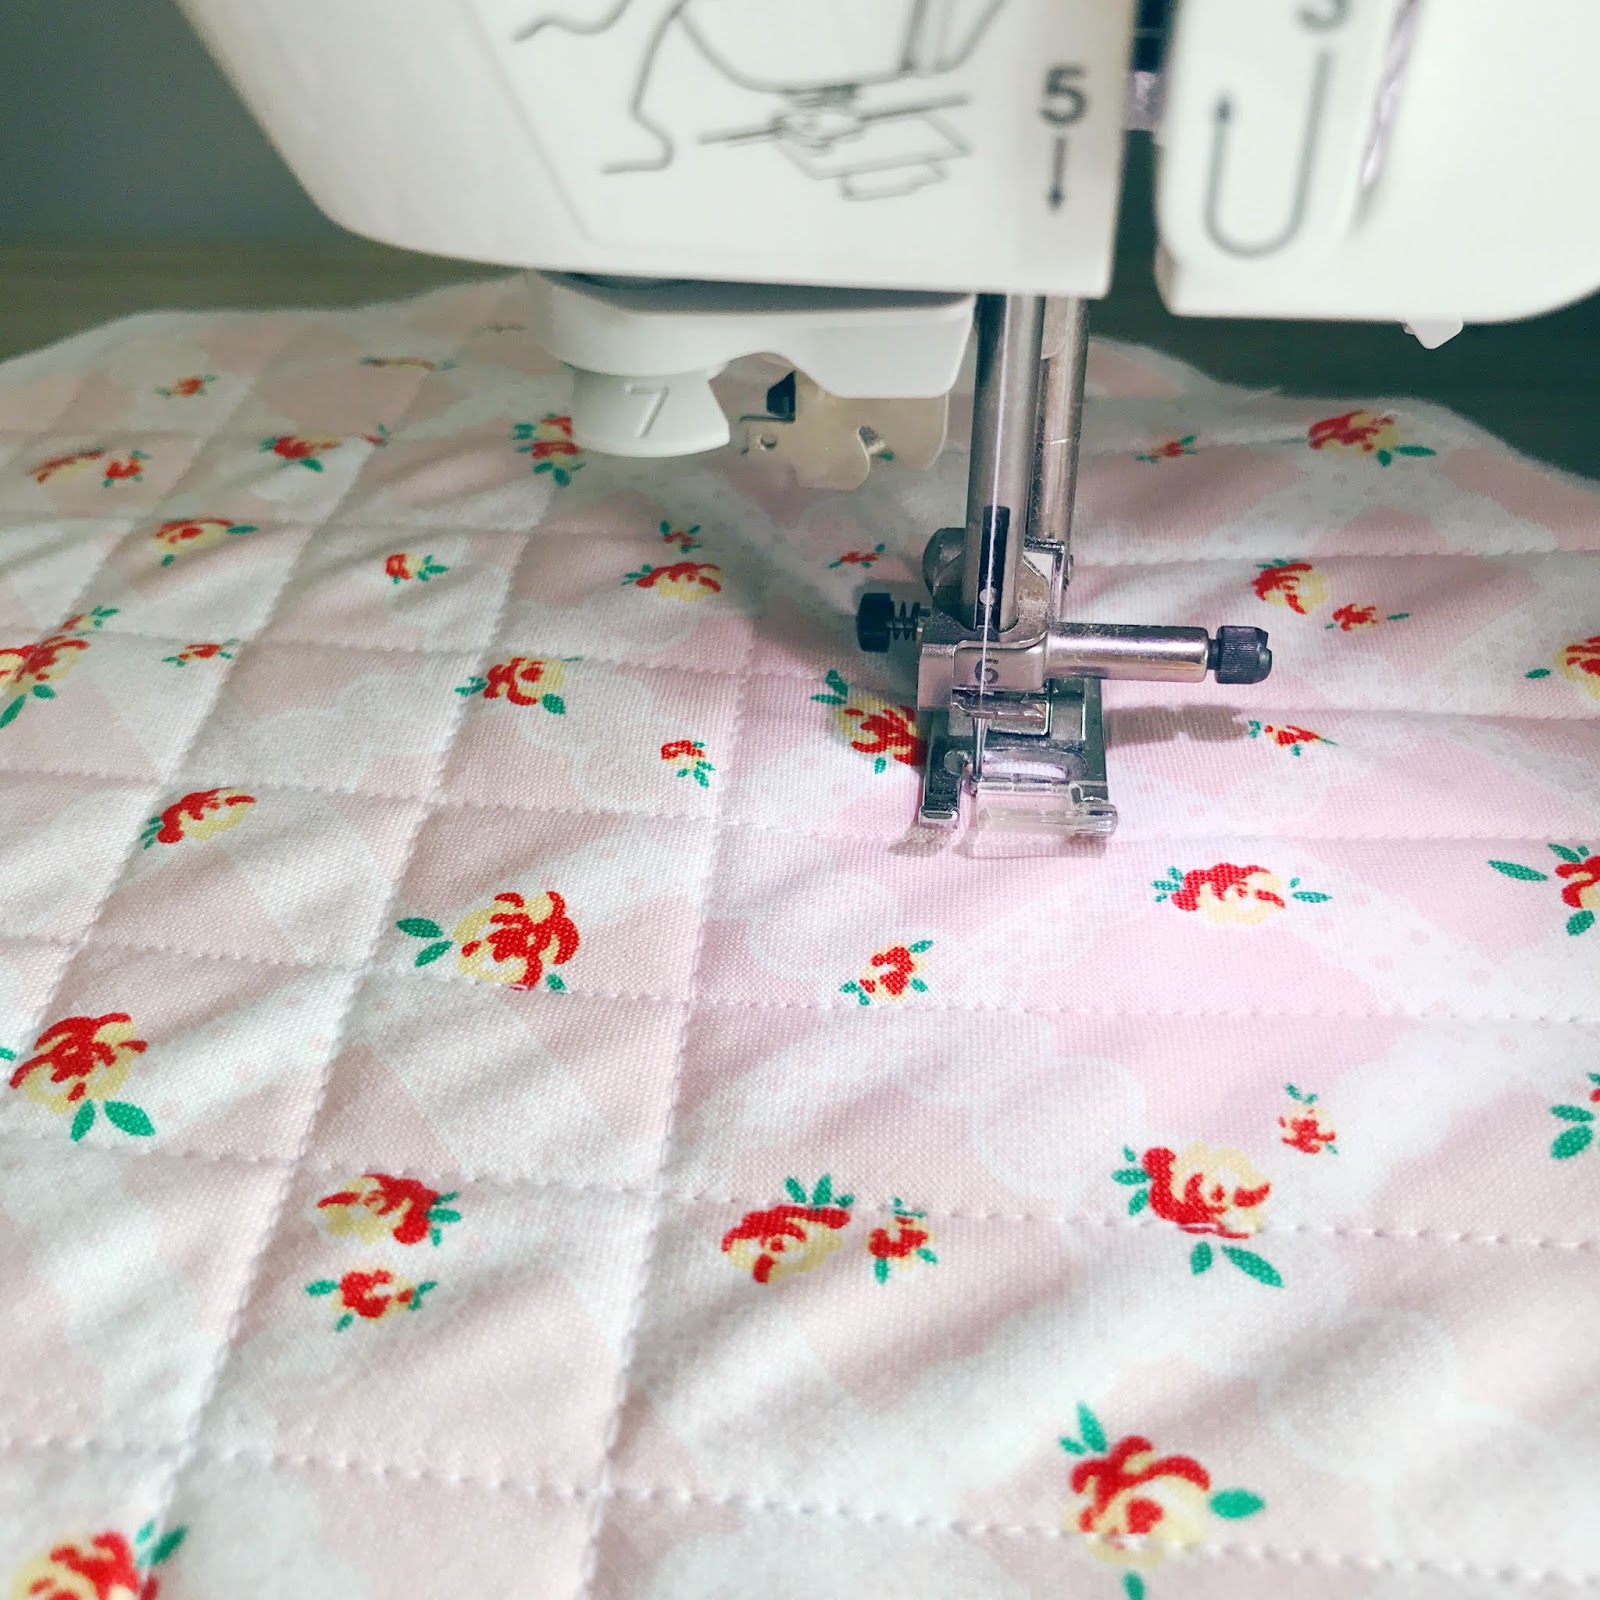
Handsewing was straightforward with the clear direct instructions and diagrams in the book. I had to add another column to suit my shortest zipper. And instead of attaching the roof directly to the house body, I handquilted them separately before joining them with the zipper. Lastly, a quick whip stitch to connect the back and front of the house.


This is how the coasters and case are supposed to look like. Way too pretty! I think I may just hide them in my drawer and not gonna use them at all.


Patchwork Gifts is a great book if you are a budding beginner or intermediate sewing enthusiast. Or anyone wishing to get a quick sewing fix especially now that we are all staying at home. Even though the projects are meant to be machine sewn, we can explore handsewing them too like what I did for this house zipper pouch. It’s completely handsewn!


There’s another project that I particularly like is the XOXO two-way lunch tote. It looks so useful and  gorgeous with the XOXO patchwork.


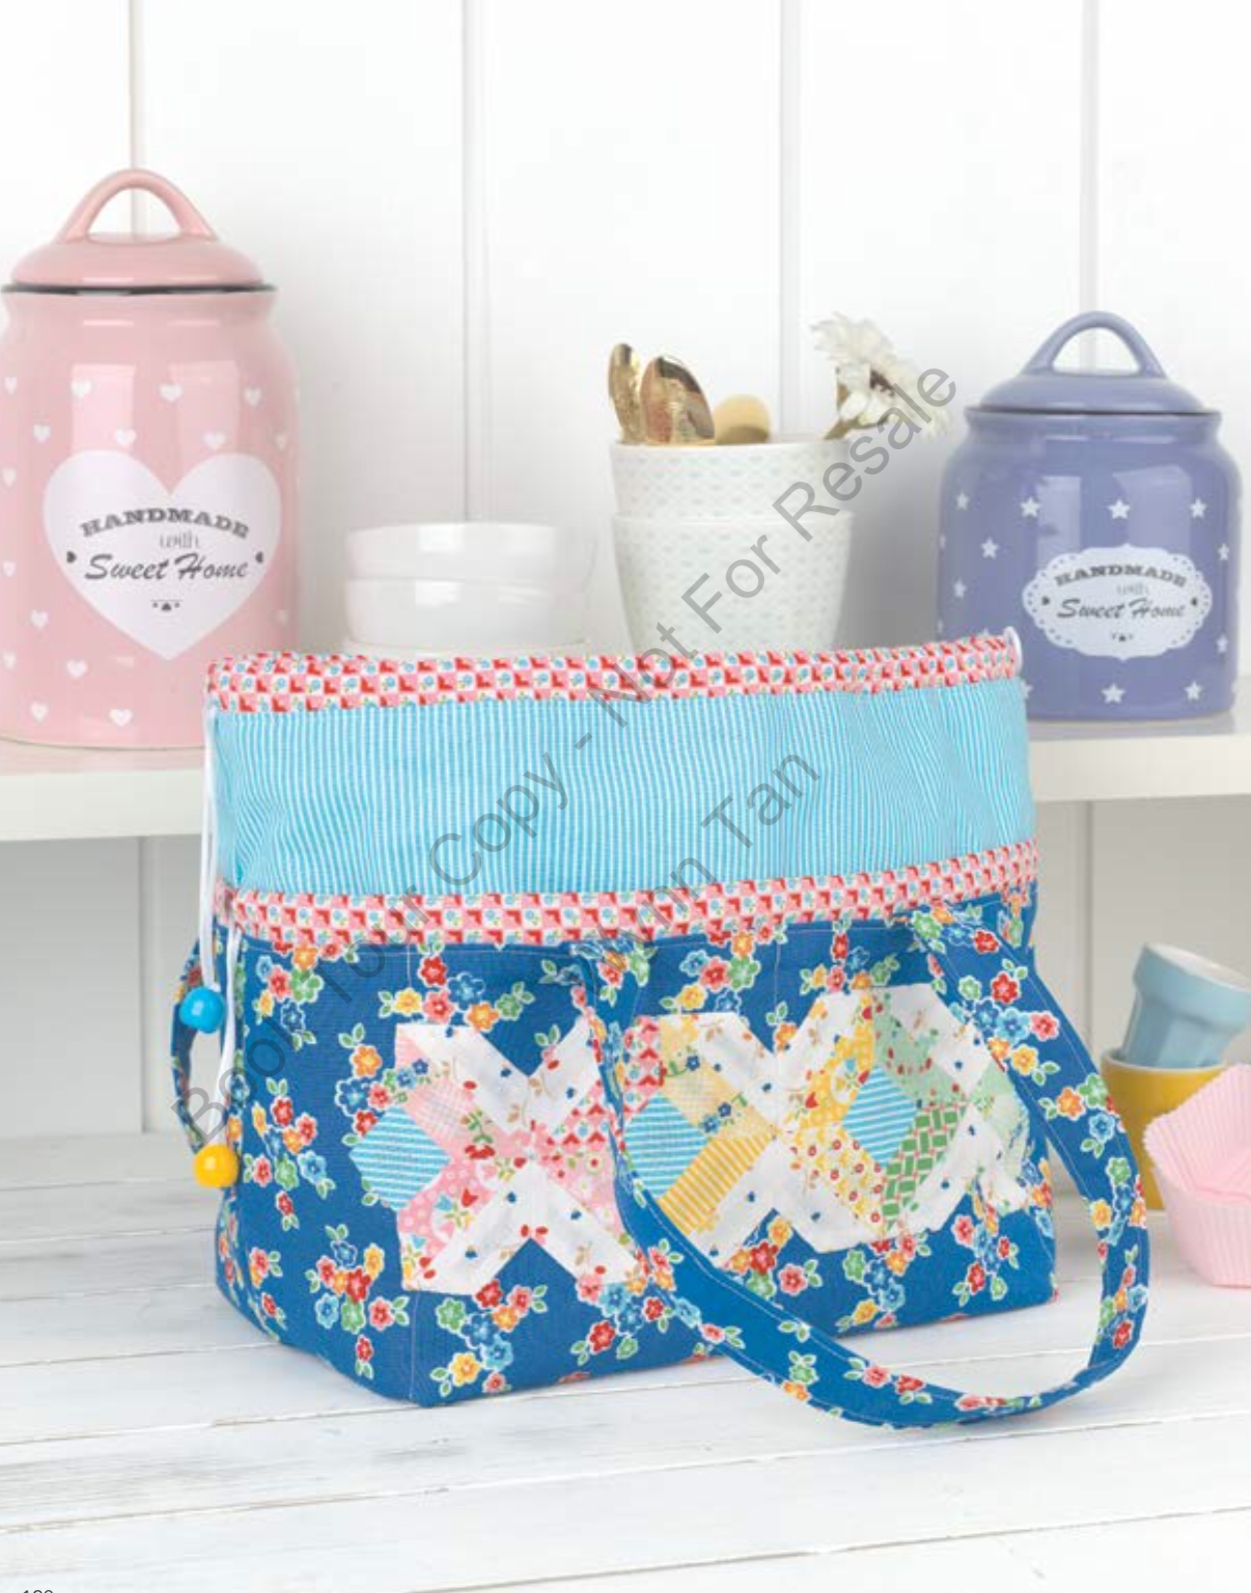
I will definitely make it someday.


I really encourage everyone to give a try on sewing something from this wonderful book. There are 20 projects in the book and I am sure you will find something you like to make for yourself or to gift to your loved ones. It’s always good to learn something new and stay curious to keep our moods lifted. Our homes will be alright and we will all be alright eventually. Keep calm and keep sewing. Also, take time to swing by to look at the projects done by all my talented friends in the above list. You may be inspired!

xx

Very Last Minute Patchwork Christmas Stocking Quick Tutorial

I know I have a bad habit of doing things last minute. Given that a day has only 24 hours with my life surrounding three kids, my hands are always always full. If I can get a day to just sew, it makes me the happiest woman on that day.

The reason for this quick tutorial is because I just finished one stocking under an hour yesterday and it made me mighty proud of myself. So I wish to share this moment of satisfaction with you so you can be as happy as me.


Actually there is a half completed stocking waiting for me ever patiently every night for hand sewing. It's a really beautiful Bucilla Christmas stocking with a cute snowman. And I have another two more Bucilla stockings (one fairy and one Santa) for my other two kids. In mid November, I eagerly took out the packages and thought to myself "One stocking per week. Easy peasy!" Well, I was so wrong. Way too ambitious seriously! Obviously I did not complete anything and I have to think of an easy way out so the kids can stop asking "do we have Christmas stockings for Santa this year?"

I tried to buy one but it costs at least USD10 for a decent one. I am stubborn enough not to give in.


This Christmas stocking is jelly roll friendly (saves cutting time!) and minimal fabric wastage.

If you are still waiting around or hesitating to make one, try this. It's easy and very fast to sew. And it makes your kids happy I am very sure.

Trust me, this stocking really took one hour for me to make. That includes choosing and cutting of fabric. If you are beginner, maybe it will take you two?

Things you need:
- 8 x 2" width fabric strips cut lengthwise on each fat quarter (If you are using jelly roll, you may only need 6 strips cut half the length)
- 1 x fat eighth fabric for backing
- 1 x fat quarter fabric for inner lining
- batting (I used normal one but you can use fusible batting too)
- 1 x 10" ribbon for hanging


Download template here.


Step 1: Sew all the strips together. Print and cut template and place diagonally on the patchwork. Cut out the part near the heel leaving a 1" edging.


Step 2: Position the cut out patchwork to the toe area and sew the strips together.


Step 3: Reposition the template on the patchwork facing up. Place backing fabric right side down and fold batting into half. Cut around the template leaving 1" edging.


Step 4: Machine or handquilt both front and back of stocking separately on batting. If you are using fusible batting, remember to iron to fuse batting to wrong side of fabric.


Step 5: Fold the lining fabric into half. Place template again on the quilted pieces (front patchwork right side up, backing right side down) and lining fabric. You should have five layers (including template). Pin in place. Use a sharp scissors and cut all at once following the template shape.


Step 6: With front patchwork and backing right sides together, sew 1/4" all around excluding the top of stocking. Repeat with lining fabric but leave a 5" gap for turning out later.


Step 7: Turn the stocking inside out. It's time to sew on the ribbon. Fold ribbon into half and sew 1/8" at the side of the stocking.


Step 8: Place the stocking into the lining and sew around the top of stocking.


Step 9: Using the gap in the lining, pull the stocking out and adjust accordingly.

Step 10: Sew to close the gap in the lining.


Step 11: Push the lining fabric inside the stocking and top stitch around the top of stocking.


Enjoy!xx


Super Zippy Pouch Quick Tutorial


This is a super quick tutorial for a "Super Zippy Pouch". My kids are laughing at the cheesy name but I loved it! The point is, you can add as many zippers as you want to make this pouch. There is no limit!


I got this idea from a smiggle pouch that my daughter has. It has zippers all around. I don't have enough so I made the other side with quilted fabrics. It still looks fantastic and funny.


The inside of the pouch is basic with bias binding. 


It's a pretty versatile pouch. You can use long or short zippers (whatever you have in your stash) in any length or width or type. You can try to handsew too! It just takes triple the time. 

Follow the steps here::


Step 1: Gather all materials. Zippers (of course), 2 fat eighths if you are using 6~8 zippers (lining and backing), 1 fat eighth interfacing (great to have a fusible one but it's ok too if you don't have).


Step 2: Arrange the zippers as you desired. Make sure the zipper pulls are in alternate directions. 


Step 3: Sew the zippers together. I use a regular machine foot but it will be good if you change to zipper foot. It might boost your confidence in sewing zippers! But anyway, it doesn't really matter because we are stitching the zippers together close to the edges.

ps: you can use pins to help you during sewing. I am lazy so I just aligned them by eyeballing.


Important point: Whenever about 1 inch reaching any zipper pull, stop stitching with needle down. Lift up the presser foot and slip your fingers in to pull the zipper pull behind and away form the needle. It takes a little patience to master this skill. But once you get it, it gets really easy.


Then continue sewing to the end of the zippers. Repeat for the rest of the remaining zippers.


Step 4: Place backing fabric (wrong side up) then interfacing then lining fabric (right side up). *If you are using fusible interfacing, you may fuse it to the lining fabric first.* Machine or hand quilt them together. 


Step 5: Assemble the zippers part (wrong side up) and lining/backing part (lining side up). Pin and sew a quarter inch all around the four sides. Make sure you leave one zipper unzipped for turning the pouch inside out. Trim and edges. 


Step 6: Sew bias binding to cover up all the raw edges. I used ready made one. The pictures above show step by step on how I added the bias binding. Machine sew on the zipper side then finish off with hand sewing on the fabric side. 


I like to snip a little off the four corners so I will not get sharp corners.


The last part of sewing the short ends of pouch. 


And you have a super zipper pouch all ready to go! All you take is less than one to two hours. It's so easy and satisfying seriously!

Christmas is coming and I think this pouch makes a wonderful gift for your kids or loved ones!xx