


I got this idea from a smiggle pouch that my daughter has. It has zippers all around. I don't have enough so I made the other side with quilted fabrics. It still looks fantastic and funny.


The inside of the pouch is basic with bias binding.


It's a pretty versatile pouch. You can use long or short zippers (whatever you have in your stash) in any length or width or type. You can try to handsew too! It just takes triple the time.
Follow the steps here::

Step 1: Gather all materials. Zippers (of course), 2 fat eighths if you are using 6~8 zippers (lining and backing), 1 fat eighth interfacing (great to have a fusible one but it's ok too if you don't have).

Step 2: Arrange the zippers as you desired. Make sure the zipper pulls are in alternate directions.

Step 3: Sew the zippers together. I use a regular machine foot but it will be good if you change to zipper foot. It might boost your confidence in sewing zippers! But anyway, it doesn't really matter because we are stitching the zippers together close to the edges.
ps: you can use pins to help you during sewing. I am lazy so I just aligned them by eyeballing.

Important point: Whenever about 1 inch reaching any zipper pull, stop stitching with needle down. Lift up the presser foot and slip your fingers in to pull the zipper pull behind and away form the needle. It takes a little patience to master this skill. But once you get it, it gets really easy.

Then continue sewing to the end of the zippers. Repeat for the rest of the remaining zippers.
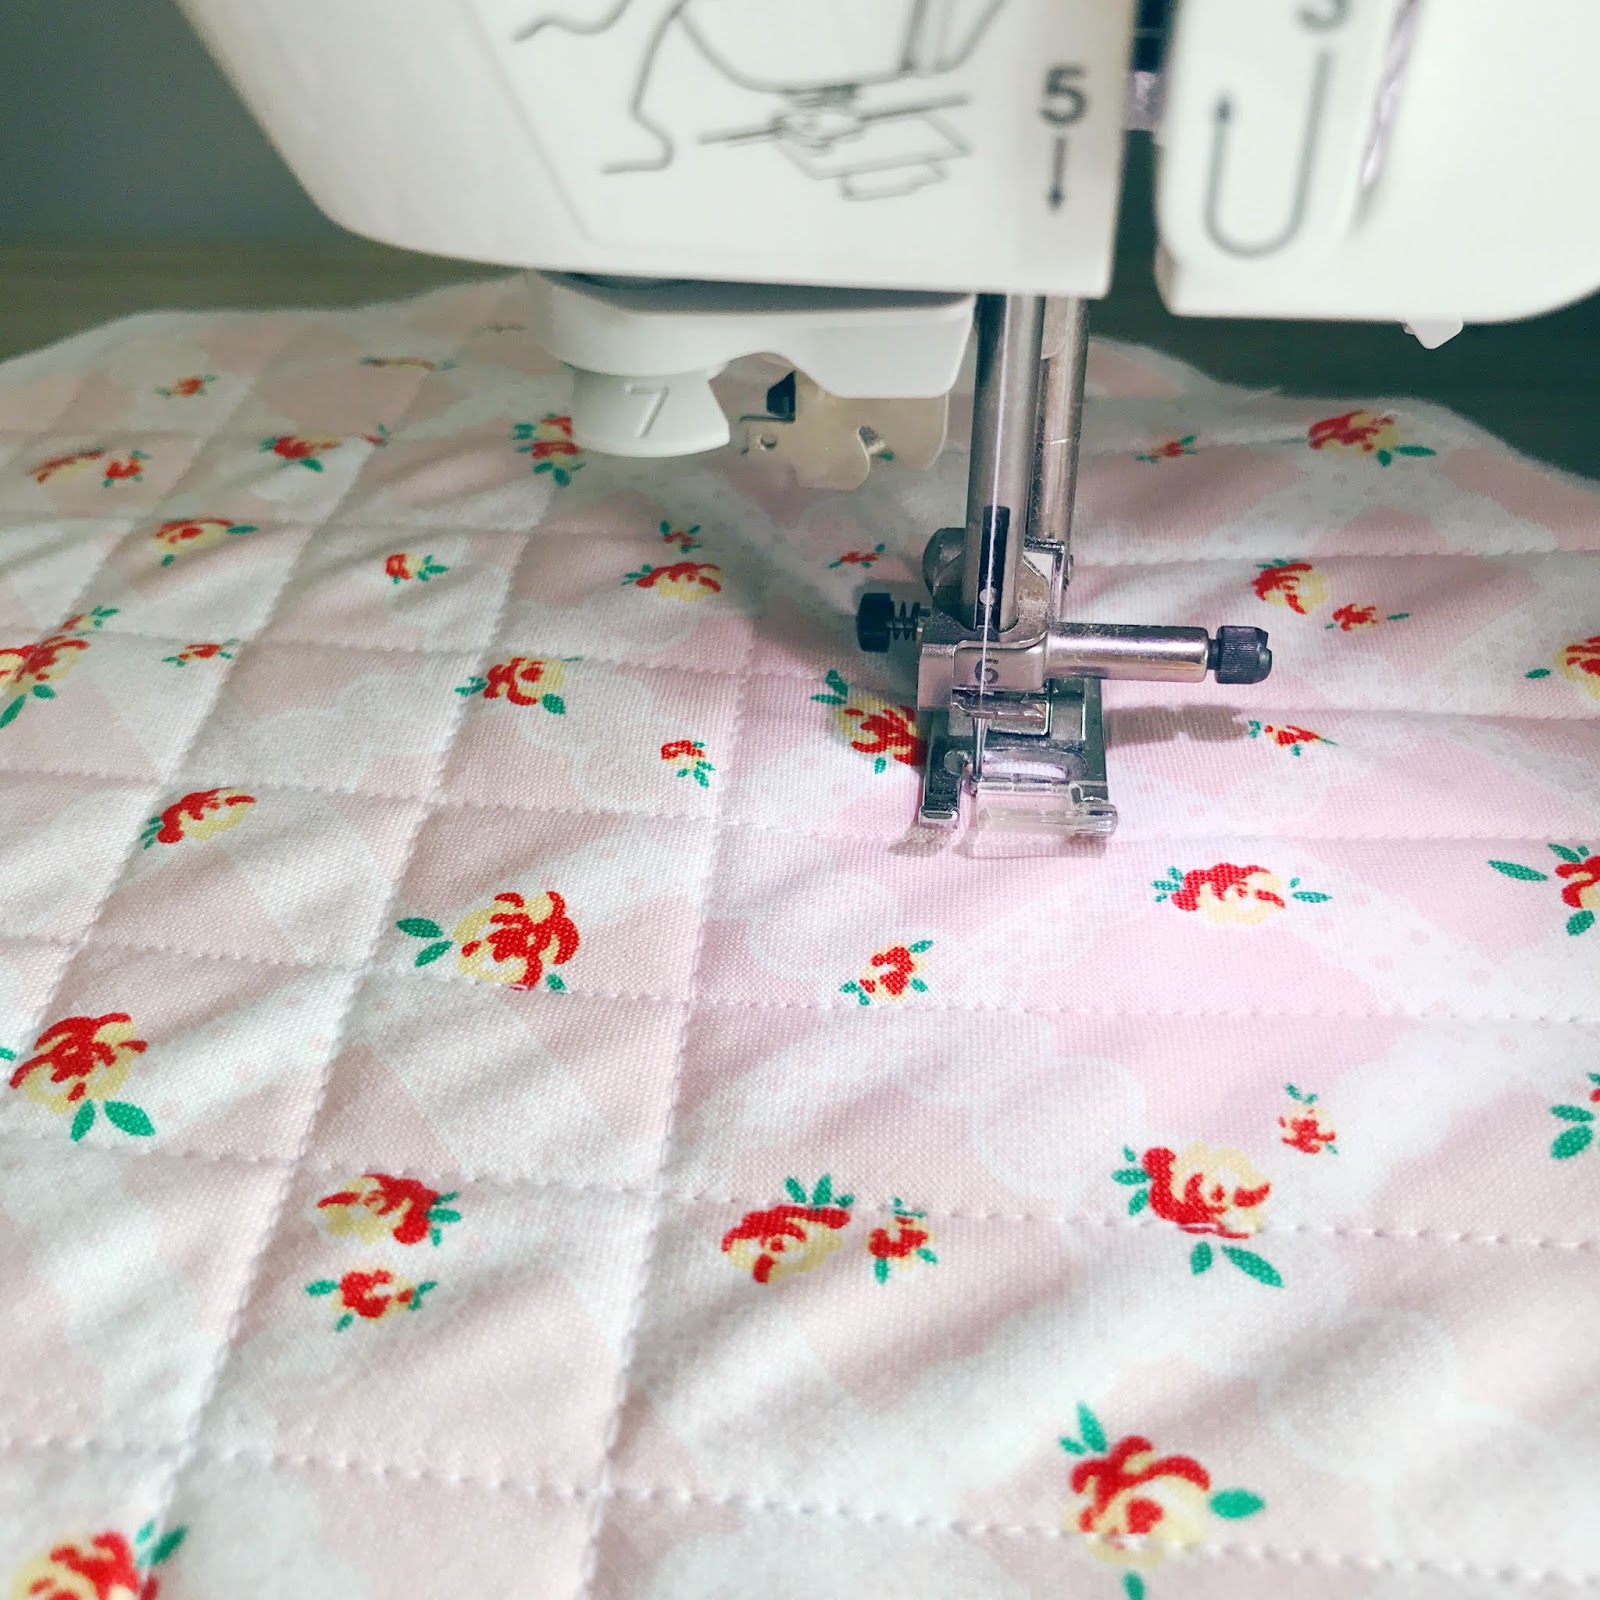

Step 4: Place backing fabric (wrong side up) then interfacing then lining fabric (right side up). *If you are using fusible interfacing, you may fuse it to the lining fabric first.* Machine or hand quilt them together.


Step 5: Assemble the zippers part (wrong side up) and lining/backing part (lining side up). Pin and sew a quarter inch all around the four sides. Make sure you leave one zipper unzipped for turning the pouch inside out. Trim and edges.


Step 6: Sew bias binding to cover up all the raw edges. I used ready made one. The pictures above show step by step on how I added the bias binding. Machine sew on the zipper side then finish off with hand sewing on the fabric side.

I like to snip a little off the four corners so I will not get sharp corners.


The last part of sewing the short ends of pouch.

And you have a super zipper pouch all ready to go! All you take is less than one to two hours. It's so easy and satisfying seriously!
Christmas is coming and I think this pouch makes a wonderful gift for your kids or loved ones!xx

No Comments Yet, Leave Yours!
Post a Comment