


Fabrics are Paperie by Amy Sinibaldi from Art Gallery Fabrics. I have been saving the fabrics to make this bear seriously. They are a perfect match.

Smiling bear with a crooked nose.

Different wooden buttons for the arms and legs.

And an adorable "handmade" tag at the leg.

The adorable back pose. He can stand, sit and pose!


A happy family! Look at all their expressions. So cute!
Each bear has a different face. Papa bear (1st bear) looks like a monkey, Mama bear (2nd bear) looks like a doggie, Baby bear (3rd bear) finally looks like a bear.
To cut the story short, I think I am ready to share this bear pattern. It's not a perfect one but I believe all kids will feel ultimate happiness when they receive handmade presents from their parents. No matter how bad your sewing is, it's the thoughts and heart that count. It's the LOVE!
"Handmade presents are treasures that would be cherished forever..."
What you need:
- scrap fabrics
- thread (i recommend quilting thread but you can use whatever you have)
- normal needle (for patchwork and sewing of eyes)
- a very long needle for joining the body parts
- buttons
- black or brown embroidery thread for the nose and mouth
- stuffing (cotton or polyester)
Now you are ready to go! I am going to keep this tutorial straightforward. You can do your own version without following entirely. Don't worry at all with mistakes or wobbly stitches or anything. I term my sewing as "lazy sewing without restrictions". So just enjoy the joy of making this bear for someone you love!
Download the pattern here (Page1 and Page 2). You can print at whatever size you want depending on how big you wish the bear to be. A 100% no scaling print gives a 11" tall bear.
**Remember this FREE pattern is only for personal use. You can make as many as you want for your children or loved ones. But, do not make a truckload of it to sell!**

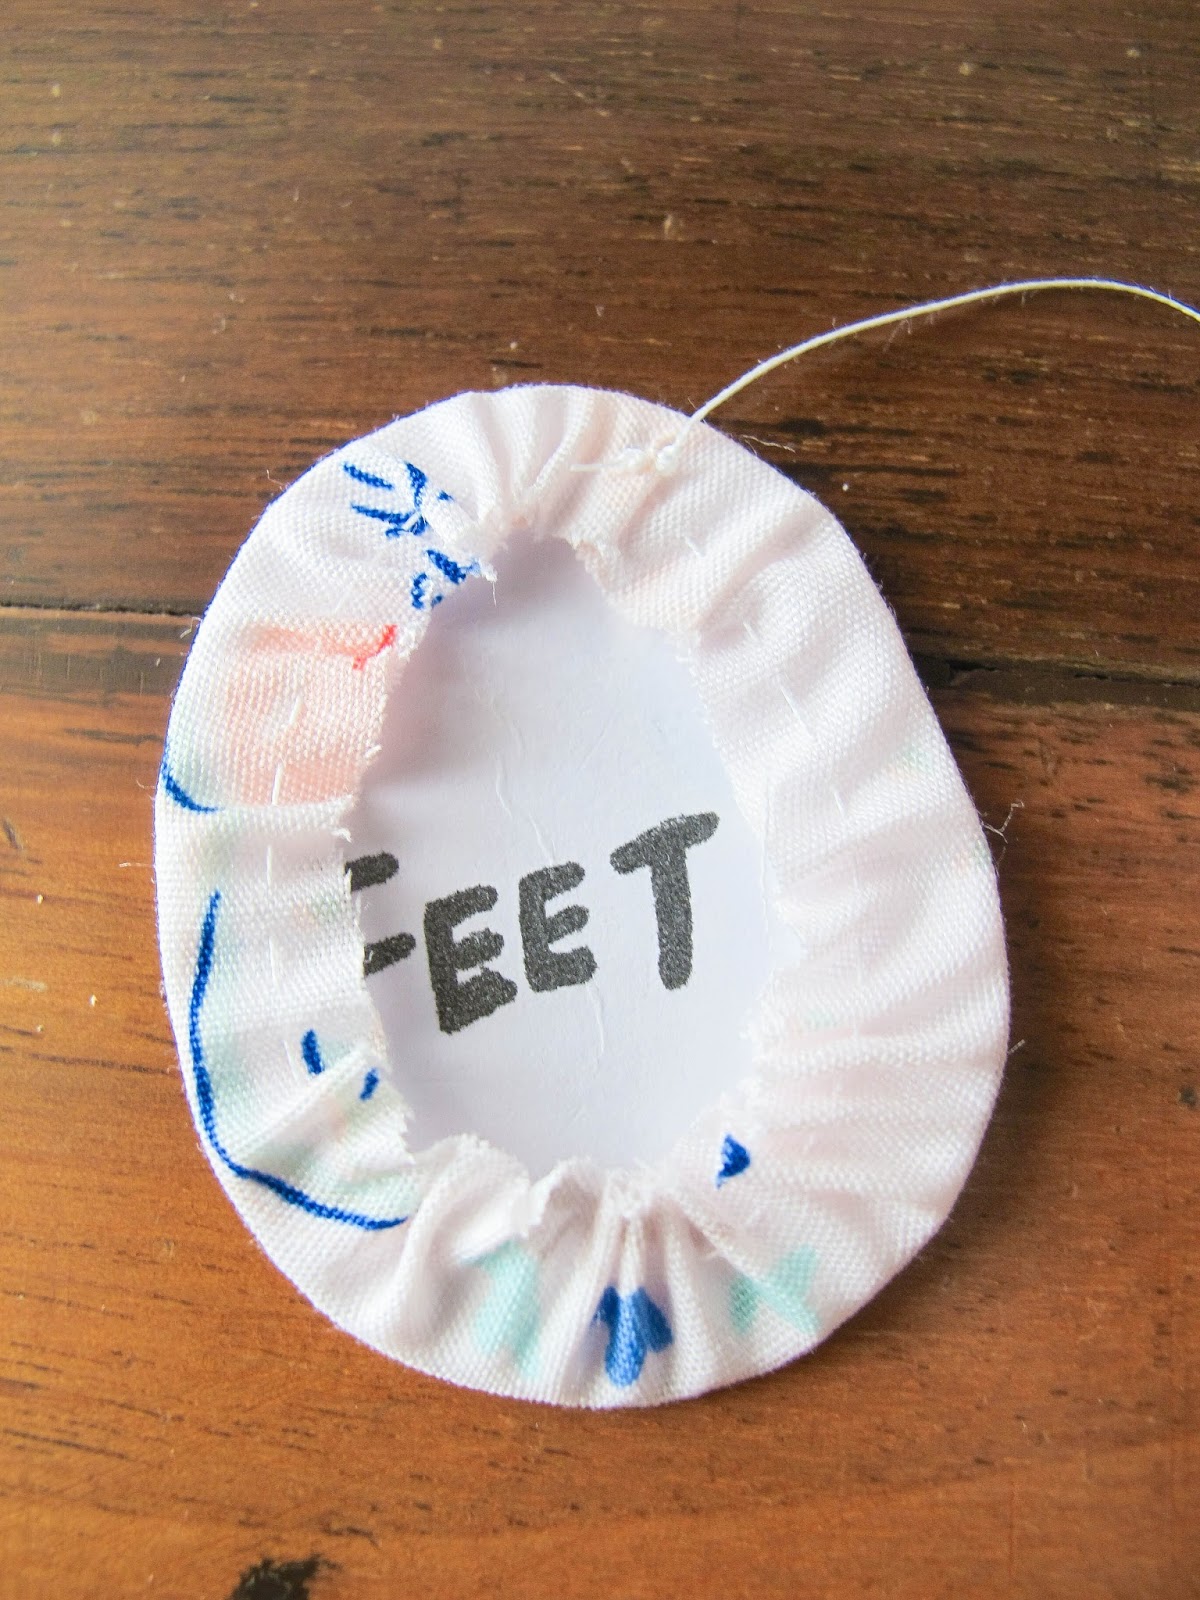
Cut out all templates. For "feet" template, glue it on a soft cardboard and cut it out again.
One important point: Remember to hide all knots inside the bear! (look at this video for how to do it)
Step 1: Arms

Take two fabrics and pin them right sides together. Place template on top and trace.


Handsew (upper pic) or machine sew (lower pic) along the traced line, leaving a 3-4" opening (preferably not at the curves). Trim the seams to 1/4" and snip generously. Turn inside out.


Put stuffing inside (but not too full until bursting!). Ladder or blind stitch to close the opening.
Take another two fabrics and repeat the same way for the other arm.
Step 2: Legs+Feet


Repeat the same way as how you sew the arms but do not sew the straight line as it's the opening.

After stuffing (please stuff more here so bear will have stronger bigger legs to sit or stand), sew continuous stitch around the opening and pull to gather. Tie a knot.

Repeat for another feet.

Pin the feet on the legs and blind stitch in place.
Step 3: Body(front)+Body(back)

For body (front), pin two fabrics right sides together and place the template on top. Trace the template and sew along the line (but not the opening).

Repeat the same way for body(back).


Now join the body(front) to body(back) by pinning the two parts together right sides together. Sew along the lines and snip several times at the seams. Turn inside out and stuff the body full. Sew a continuous stitch around the opening before pulling the thread tight to close the opening. Tie a knot.
Step 4: Face+Head


Repeat the same way as how you sew the body(front)+Body(back)
Step 5: Ears

Pin two fabrics right sides together and trace template onto fabric. Sew along traced line (except opening and trim to 1/4" seam allowance. Snip generously for easy turning out.


Put just a little stuffing. Fold in the seams at opening. Pin in place and whip/blind stitch to close the opening.


Now position the ears 1" each from the centre of head. Pin and use ladder stitch to secure the ears. Give a little tug when tying the knot for a gathered crinkled ear look.
Step 6: Joining of body parts

This is the long joining needle that I bought many years ago from Spotlight.


To join the face/head to body:
Find the centre of both parts and pin down in place. Use ladder stitch to sew them together. You don't have to be neat or accurate here. The important point to to sew them tight so they don't separate. Pull the thread tight after sewing one round around the neck. Be generous with your knots.


To join the arms:
Using a long joining needle and thread (with several knots), poke through one side of the bear. Take a button, place about 1" down from the top of the arm and guide the needle through the button holes. Then return the needle to the other side of the bear by poking through the body. Take another button with the other arm and repeat again. Remember to pull the thread tight each time you join to hold the arms in place. Repeat this joining a few times. For the last time, make several knots and hide it under the armpit.

Note: The curved part is the upper part of leg.

To join the legs:
Repeat the same way as how you join the arms. Make sure you sit the bear and position the legs so the bear can sit rather comfortably without topping over. The butt must be on the table together with the legs. The legs should be almost parallel to the arms.
Step 8: Eyes+nose+mouth

You can use two buttons for the eyes. Or you can use embroidery floss to sew them. When using buttons, use the same way as to join the body parts with buttons. Give a slight taut or pull to hold the button eyes together.

I use embroidery floss to sew the nose and mouth but you can choose anything else to use like beads. For the nose, there's a pointy part at the face that marks where you can start sewing. I encourage you to draw the nose and mouth position using water soluble pen first until you are happy with how they look.
Lastly, you can add any embellishments like lace as scarf or fabric tags like me or anything you wish to!

And there you go! You made a teddi bear!
Hope you enjoyed this tutorial and have fun making as many bears as you can! Please tag #teddithebear in IG to share with everyone your very own handmade bear!xx

No Comments Yet, Leave Yours!
What a gorgeous bear! I love the fabrics & admire your patience recording all the stages of production. Many thanks!
Shows so much love and dedication to your craft. Lovely results
Love this tutorial, thank you for making and sharing it!
Is there a "Step 7" or did you inadvertently leave it out? I was making my own "Teddy" and realized the instructions went from "Step 6" to "Step 8" and frantically started searching my print-out for "Step 7."�� Thank you
Adorable! And what great timing that I found this. A dear friend whose grandmother just died gave me a pair of cotton pajama bottoms that were her grandmother's favorites and asked me to make something with them. This is the perfect project!
Fantastic. Have just completed a blue bear. Wish I could attach a picture
thank you so uch for this pattern! it was the only free pattern that i really loved and I have chosen for my project. the mother of my friend died and I had her summerdress for this teddi. You made someone from germany really happy! best wishes, miri
would love to send a pictue, but I couldn´t find an email address...
I cant wait to see my teddy he would look brilliant with the rest of my bears
Wow. Great job and great tutorial. I couldn’t find the free pattern. I would like to make these for students that loose a family member.
Very helpful...
Nice teddy...🤗🤗🤗
Thank you forsharing and being free to attempt for grandchildren
Great pattern, thanks for sharing!
My stuffing is coming through my fabric - I'm pretty sure it's not overstuffed, is there anything I can do to fix it? Line it? (I'm a new sewer - thanks for your help!)
Hello Very Nice your Blog and Keep Update for more information about Kong Monkey-Brown 50Cm-Kong Monkey-All kids love animals,.Kong Monkey-Brown 50Cm
Hello Very Nice your Blog and Keep Update for more information about Looking for a dinosaur plush toy. Dinosaur teddy bear or dinosaur stuffed toy? Look no further and grab our products now.Dinosaur Teddy Bear
Hello Very Nice your Blog and Keep Update for more information about Is your baby in love with the elephant soft toys? Why not. Have a look at the elephant soft toys for babies.Elephant Soft Toys
Hello Very Nice your Blog and Keep Update for more information about Looking for a stuffed animal elephant? Check out the baby elephant teddy now.Stuffed Animal Elephant
Hello Very Nice your Blog and Keep Update for more information about Buy elephant soft toy big. Check out the elephant soft toys online.Elephant Soft Toy Big
Thanks for the sweet, easy to make Teddi. Tis very adorable. Could he be used for charity in kids' hospitals?
My first ever bear. Thanks for the great instructions. I couldn't have done it without the pictures.
I found that the shape of the head improved markedly when I attached the eyes with the long needle technique. Before that, I was concerned whether he would end up adequately cute. If you're into editing older blog posts, you might add a note that the shape of the head will still change after the first stuffing step.
Thank you!
I’m in the same boat, unable to find either the pattern or a link. Fab work and great generosity.
https://drive.google.com/open?id=0B2T8GK7HT_XxOVlvc1VJNmRXMDA
It could be that the fabric is too thin
I'm working on this but can't seem to figure out how to do the body and the head/face. Can you elaborate your guide here exactly how to attach the pieces? Thank you!
Hi it won’t let me convert the pattern template to print it out and I was wondering if you could send it another way
It's adorable, but the sewing instructions for the 4 pieces of the face/head and back/belly are very lacking. No registration marks or notches, if I sew the 2 backs together... how would they join to the belly? Please Update!
Thanks for posting this! I just made this as my first ever sewing project, and the instructions were easy to follow, especially with the pictures. I took some creative liberties with the face, but I think it turned out well. Thank you! :)
I'm having trouble figuring out how to do the face and the head. Can anyone explain how to attach the 2 pieces? Is the opening the straight line or do I need to leave a different part open to attach them?
Ty so very much. You have gave perfect directions on how to make a cute little Teddy bear.🥰
Post a Comment